Build with Docker Build Cloud
⚠️ Important: Path Selection
If you completed the Docker Build - Local section:
- 🛑 STOP HERE - Do not proceed with this Cloud section
- ✅ Instead, Click Here to Continue to Docker Scout
This section is an alternative build path for those who haven’t done the local build.
Docker Build Cloud: Overview
Docker Build Cloud is a powerful remote build service that accelerates container image creation by offloading build operations to Docker’s cloud infrastructure.
Subscription Requirements
Docker Build Cloud is available with:
- Docker Pro ($9/month)
- Docker Team ($15/user/month)
- Docker Business ($24/user/month)
IMPORTANT: If you don’t have a paid subscription, please use the Docker Build Local guide instead.
For subscription details, visit Docker Pricing.
Prerequisites
- Install Docker Desktop: Download here
- Ensure Docker Desktop is running
- Docker Hub authentication completed in the previous section
- Enable Docker Build Cloud in Docker Desktop (paid feature)
- Open Docker Desktop
- Go to Settings > Features in Development
- Enable Build Cloud
1. GitHub Authentication
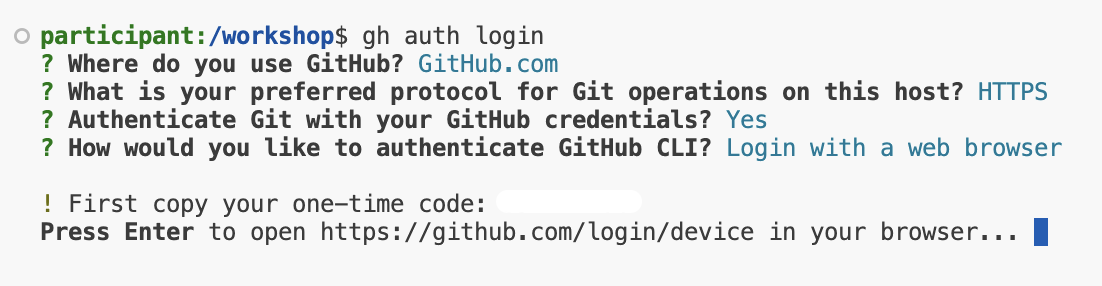
Authenticate with GitHub using the pre-installed GitHub CLI:
# Check if already authenticated
gh auth status || gh auth login
If you need to authenticate, you will be guided through several prompts:
- Select GitHub.com
- Select HTTPS as your preferred protocol
- When asked “Authenticate Git with your GitHub credentials?”: Enter Y
- Select Login with a web browser
- Copy the one-time code shown in your terminal
- Press Enter to open the browser
- Paste the code in GitHub and authorize access
- Come back to VS Code Server and wait for it be authenticated. (This can take up to 30 seconds or more)
2. Fork and Clone the Repository
Instead of cloning directly, we’ll fork the repository first:
# Fork and clone the repository
gh repo fork aws-samples/Rent-A-Room --clone=true

# Change to the repository directory
cd Rent-A-Room
3. Create the Configuration Files
First, let’s create the Dockerfile:
cat << 'EOF' > Dockerfile
# Build stage
FROM node:12 as build
WORKDIR /app
ENV DISABLE_ESLINT_PLUGIN=true
COPY package*.json ./
RUN npm install
COPY . .
RUN npm run build

FROM nginx:1.14
COPY --from=build /app/build /usr/share/nginx/html
COPY nginx.conf /etc/nginx/conf.d/default.conf
EXPOSE 80
CMD ["nginx", "-g", "daemon off;"]
EOF
Next, create the nginx configuration file:
cat << 'EOF' > nginx.conf
server {
    listen 80;
    server_name localhost;

    root /usr/share/nginx/html;
    index index.html;

    # Support for SPA routing
    location / {
        try_files $uri $uri/ /index.html;
        add_header Cache-Control "no-cache";
    }

    # Serve static files
    location /static/ {
        expires 1y;
        add_header Cache-Control "public";
    }

    # Handle all API requests
    location /api/ {
        proxy_pass http://localhost:3000;
        proxy_http_version 1.1;
        proxy_set_header Upgrade $http_upgrade;
        proxy_set_header Connection 'upgrade';
        proxy_set_header Host $host;
        proxy_cache_bypass $http_upgrade;
    }
}
EOF
3.1 Configure for Multiple Environments
Create environment files to handle different deployment scenarios:
# Create development environment file:
cat << 'EOF' > .env.development
REACT_APP_API_URL=/proxy/3000
EOF

# Create production environment file:
cat << 'EOF' > .env.production
REACT_APP_API_URL=/api
EOF
3.2 Update Configuration Files
Update both package.json and App.js to handle different environments:
# Add environment check before the return statement in App.js
sed -i '/function App() {/a\  const isVSCodeServer = window.location.href.includes('\''cloudfront.net'\'');\n  const basename = isVSCodeServer ? '\''/proxy/3000'\'' : '\''/'\'';' src/App.js

# Update Router to use basename
sed -i '/<[Rr]outer>/s/>/\ basename={basename}>/g' src/App.js

# Update package.json to add homepage
sed -i '/"private": true,/a\  "homepage": ".",' package.json
Want to understand more about the Dockerfile?
This Dockerfile uses a multi-stage build process to create an optimized production image for a Node.js application served by Nginx. Let’s break it down:
Build Stage
# Build stage
FROM node:12 as build
WORKDIR /app
ENV DISABLE_ESLINT_PLUGIN=true
COPY package*.json ./
RUN npm install
COPY . .
RUN npm run build- FROM node:12 as build: Starts with a Node.js 12 base image, naming this stage “build”.
- WORKDIR /app: Sets the working directory in the container.
- COPY package*.json ./: Copies package.json and package-lock.json (if present) to the working directory.
- RUN npm install: Installs the Node.js dependencies.
- COPY . .: Copies the rest of the application code into the container.
- RUN npm run build: Builds the application (typically creating a build or dist folder).
Production Stage
# Production stage
FROM nginx:1.14
COPY --from=build /app/build /usr/share/nginx/html
COPY nginx.conf /etc/nginx/conf.d/default.conf
EXPOSE 80
CMD ["nginx", "-g", "daemon off;"]- FROM nginx:1.14: Starts a new stage using the Nginx 1.14 base image.
- COPY –from=build /app/build /usr/share/nginx/html: Copies the built files from the previous stage to Nginx’s serving directory.
- COPY nginx.conf /etc/nginx/conf.d/default.conf: Copies the Nginx configuration file.
- EXPOSE 80: Informs Docker that the container will listen on port 80.
- CMD [“nginx”, “-g”, “daemon off;”]: Starts Nginx in the foreground when the container runs.
4. Verify Docker Build Cloud Setup
Ensure Docker Build Cloud is properly configured:
To verify buildx is available:
# Verify buildx is available
docker buildx version
To create and configure builder instance (handles existing builders):
# Check if builder exists first, create if it doesn't
docker buildx ls | grep cloud-builder || docker buildx create --name cloud-builder --use
Bootstrap the builder instance using this command:
docker buildx inspect --bootstrapYou should see output indicating your builder is using the Docker Build Cloud driver like this:
+] Building 6.7s (1/1) FINISHED
 => [internal] booting buildkit                                                                                                      6.7s
 => => pulling image moby/buildkit:buildx-stable-1                                                                                   5.8s
 => => creating container buildx_buildkit_cloud-builder0                                                                             0.9s
Name:          cloud-builder
Driver:        docker-container
......
5. Build Your Image with Docker Build Cloud
Build the image using Docker Build Cloud:
# Measure build time
start_time=$(date +%s)
docker buildx build --load -t rent-a-room .
end_time=$(date +%s)
echo "Build completed in $((end_time - start_time)) seconds"

# Note: If you encounter a build error about duplicate variable declarations in App.js,
# you may need to check the file and remove any duplicate declarations of variables like 'isVSCodeServer'
Key options explained:
- –load: Imports the built image into your local Docker image store
- -t rent-a-room: Tags the image with the name “rent-a-room”
6. Verify Your Image
Wait for step 5 to finish building, then check that your image was built successfully:
docker images | grep rent-a-roomIf built successfully you will see output like this:
rent-a-room latest 0b9c31de0251 3 seconds ago 111MB7. Run the Container
Start a container using the image you built:
# Stop and remove container if it exists, then create a new one
docker stop rent-a-room-container 2>/dev/null || true
docker rm rent-a-room-container 2>/dev/null || true
docker run -d -p 3000:80 --name rent-a-room-container rent-a-room
8. Test the Application
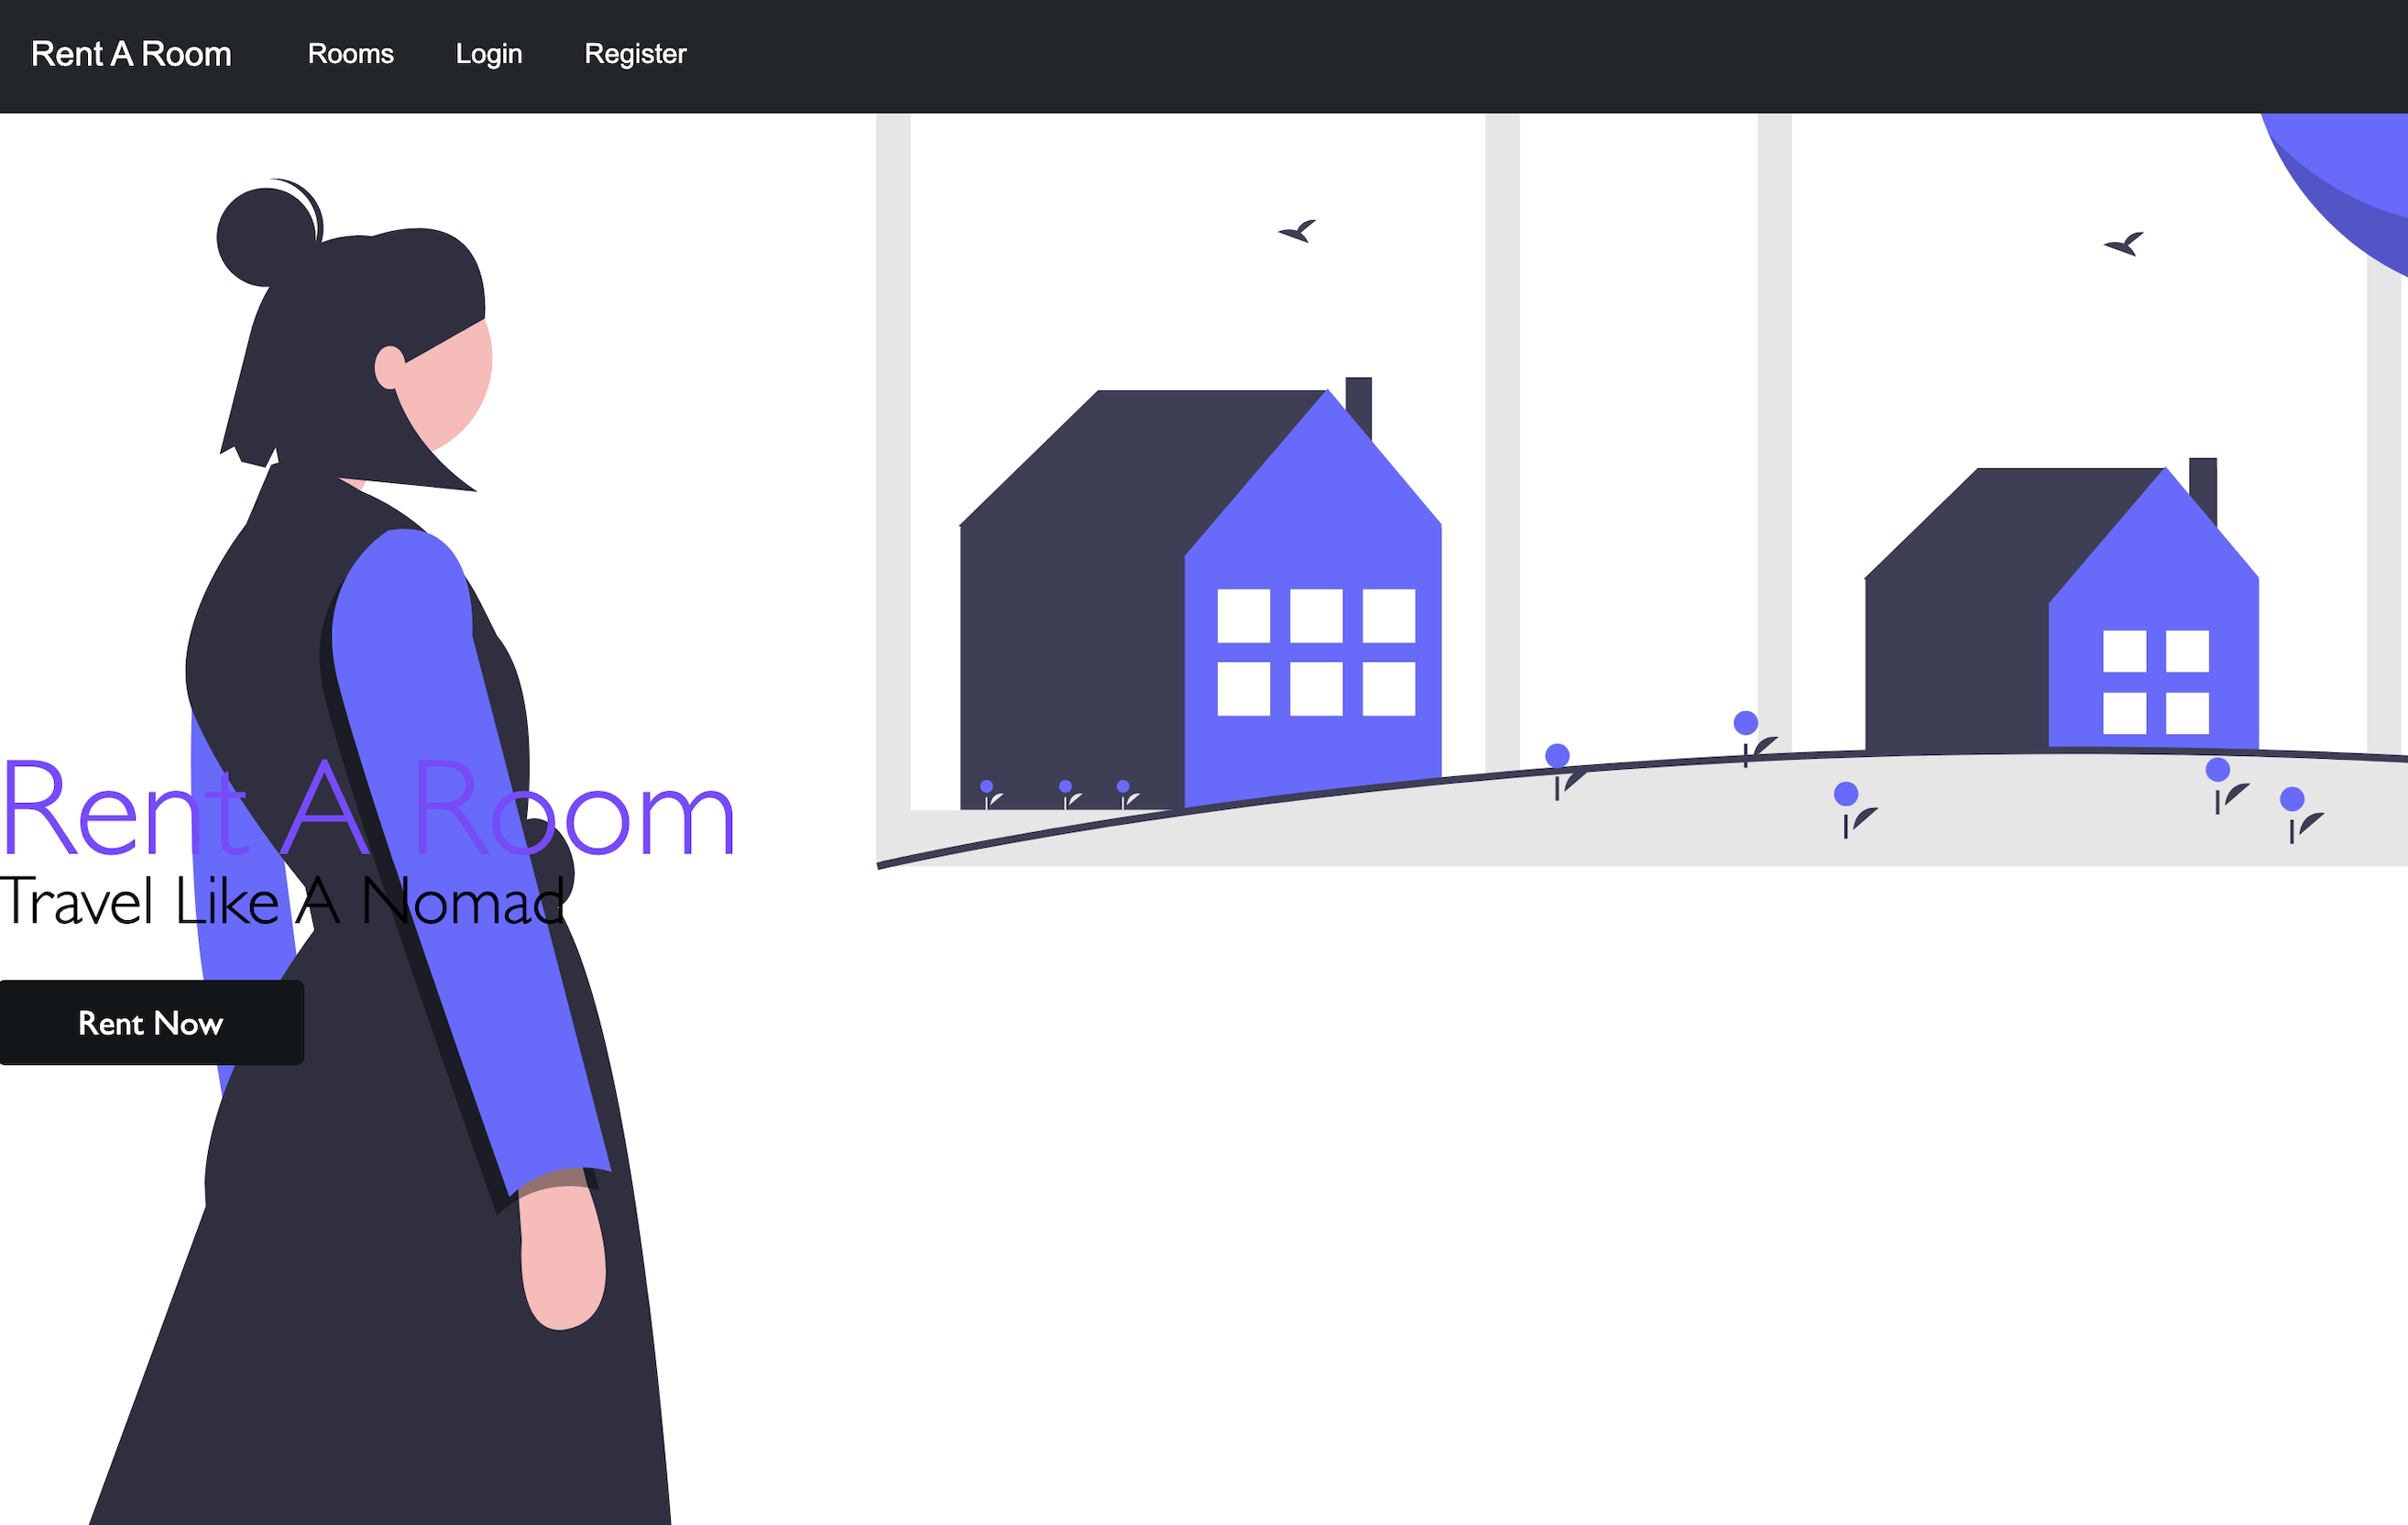
Access your application in VS Code Server by going to the PORTS section, and click on the Forwarded Address.

This is what the application will look like:
9. Explore Build Acceleration
Make a small change with the application like this:
# Make a small change to force a rebuild
echo "// Small change" >> src/App.js
Then time the cloud build:
# Run the cloud build and time the building
start_time=$(date +%s)
docker buildx build --load -t rent-a-room .
end_time=$(date +%s)
cloud_build_time=$((end_time - start_time))
echo "Build completed in $cloud_build_time seconds"
For comparison, let’s see how long a local build would take (without using Docker Build Cloud):
# Temporarily switch to a local builder
docker buildx create --name local-builder --use

# Run the local build and time it
start_time=$(date +%s)
docker build -t rent-a-room-local .
end_time=$(date +%s)
local_build_time=$((end_time - start_time))
echo "Local build completed in $local_build_time seconds"

# Calculate time savings
time_saved=$((local_build_time - cloud_build_time))
percent_saved=$(( (time_saved * 100) / local_build_time ))
echo "Time saved by using Docker Build Cloud: $time_saved seconds ($percent_saved%)"

# Switch back to cloud builder
docker buildx use cloud-builder
Note: The actual time savings will vary based on your network connection, machine specifications, and the complexity of your application. Typically, you can expect significant time savings for larger applications with more dependencies.
10. Enable Remote Caching
For even faster builds, especially in CI/CD environments, let’s use your Docker Hub account for remote caching:
# Use your Docker Hub username from the environment variable
echo "Using Docker Hub username: $DOCKER_USERNAME"

docker buildx build \
  --cache-to type=registry,ref=$DOCKER_USERNAME/rent-a-room-cache \
  --cache-from type=registry,ref=$DOCKER_USERNAME/rent-a-room-cache \
  --load \
  -t rent-a-room .
11. Push Your Image to Docker Hub
Now that you’ve built your image with Docker Build Cloud, let’s push it to Docker Hub:
# Tag the image with your Docker Hub username
docker tag rent-a-room $DOCKER_USERNAME/rent-a-room:cloud

# Push the image to Docker Hub
docker push $DOCKER_USERNAME/rent-a-room:cloud
Verify the Tagged Image Locally
Check that your image has been tagged correctly:
docker images | grep rent-a-roomYou should see both your local image and the tagged image ready for Docker Hub:
$DOCKER_USERNAME/rent-a-room   cloud     0b9c31de0251   5 minutes ago   111MB
rent-a-room                    latest    0b9c31de0251   5 minutes ago   111MB
Verify the Image on Docker Hub
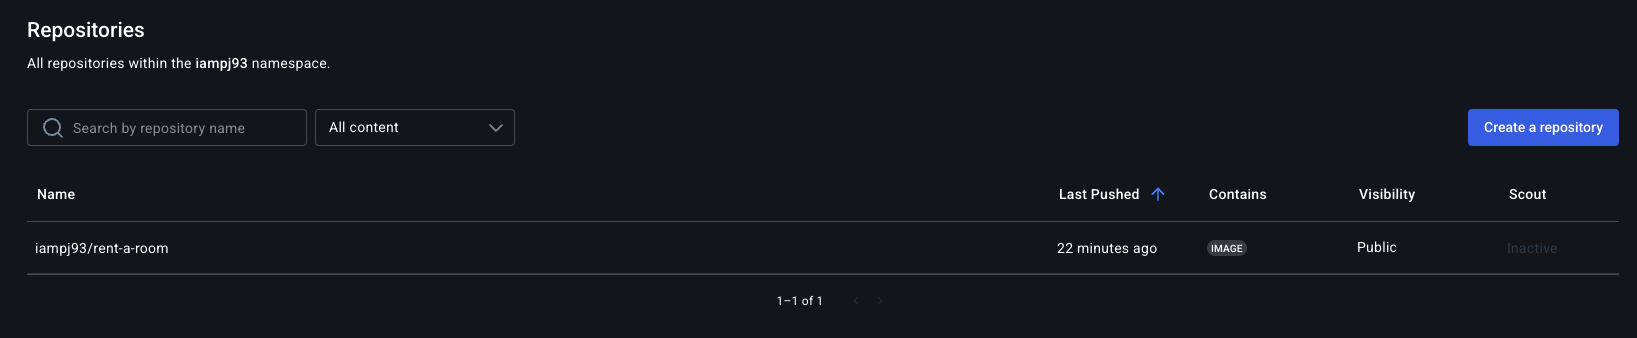
After pushing, you can verify that your image is available on Docker Hub by clicking on this link:
echo https://hub.docker.com/r/$DOCKER_USERNAME/rent-a-roomOr by navigating to Docker Hub in your browser and checking your repositories.
12. Stop and Remove the Application Container
To stop the running container:
docker stop rent-a-room-containerTo remove the container:
docker rm rent-a-room-containerSummary
- Docker Build Cloud speeds up builds by using cloud-based execution, typically saving 30-70% of build time compared to local builds.
- Caching improves efficiency, reducing redundant processing.
- Comparing cloud vs. local builds demonstrates significant time savings, especially for larger projects.
- Ideal for large projects and CI/CD workflows, ensuring faster deployments.
- Time savings compound with each build, resulting in substantial productivity improvements over time.
- Pushing to Docker Hub makes your images available anywhere.
In the next section, we will explore how to utilize Docker Scout.