Setting up your Workshop Resources
Warning
Your account must have the ability to have Administrative Access
Deploying the CloudFormation Templates
To set up the required resources for this workshop, you will need to deploy this CloudFormation template:
Download the :button[vscode-server]{href="/static/infrastructure/vscode-server.yaml" action=download} CloudFormation Template
Prerequisites
Before deploying the templates, ensure the following:
- AWS account: Must have an AWS Account Click Here to Register for an Account
- Administrator Access: Verify that you have administrative permissions in your AWS account.
- AWS Management Console: Log in to the AWS Management Console.
Deploying the Templates
Step 1: Deploy the vscode-server.yaml
-
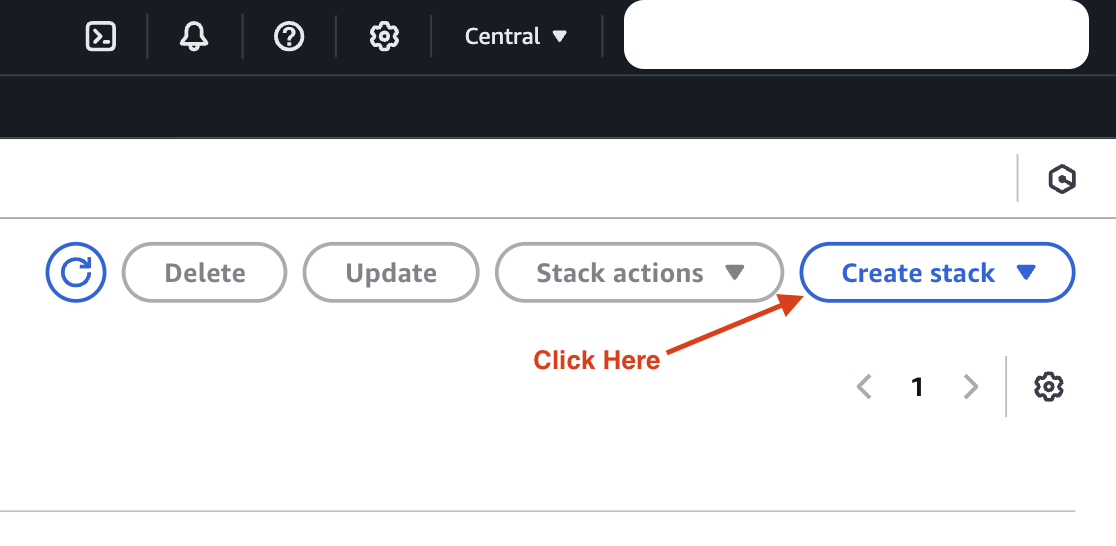
Navigate to the CloudFormation service in the AWS Management Console.
-
Click Create stack and select Upload a template file.
-
Click Choose file, select the
vscode-server.yaml, and click Next.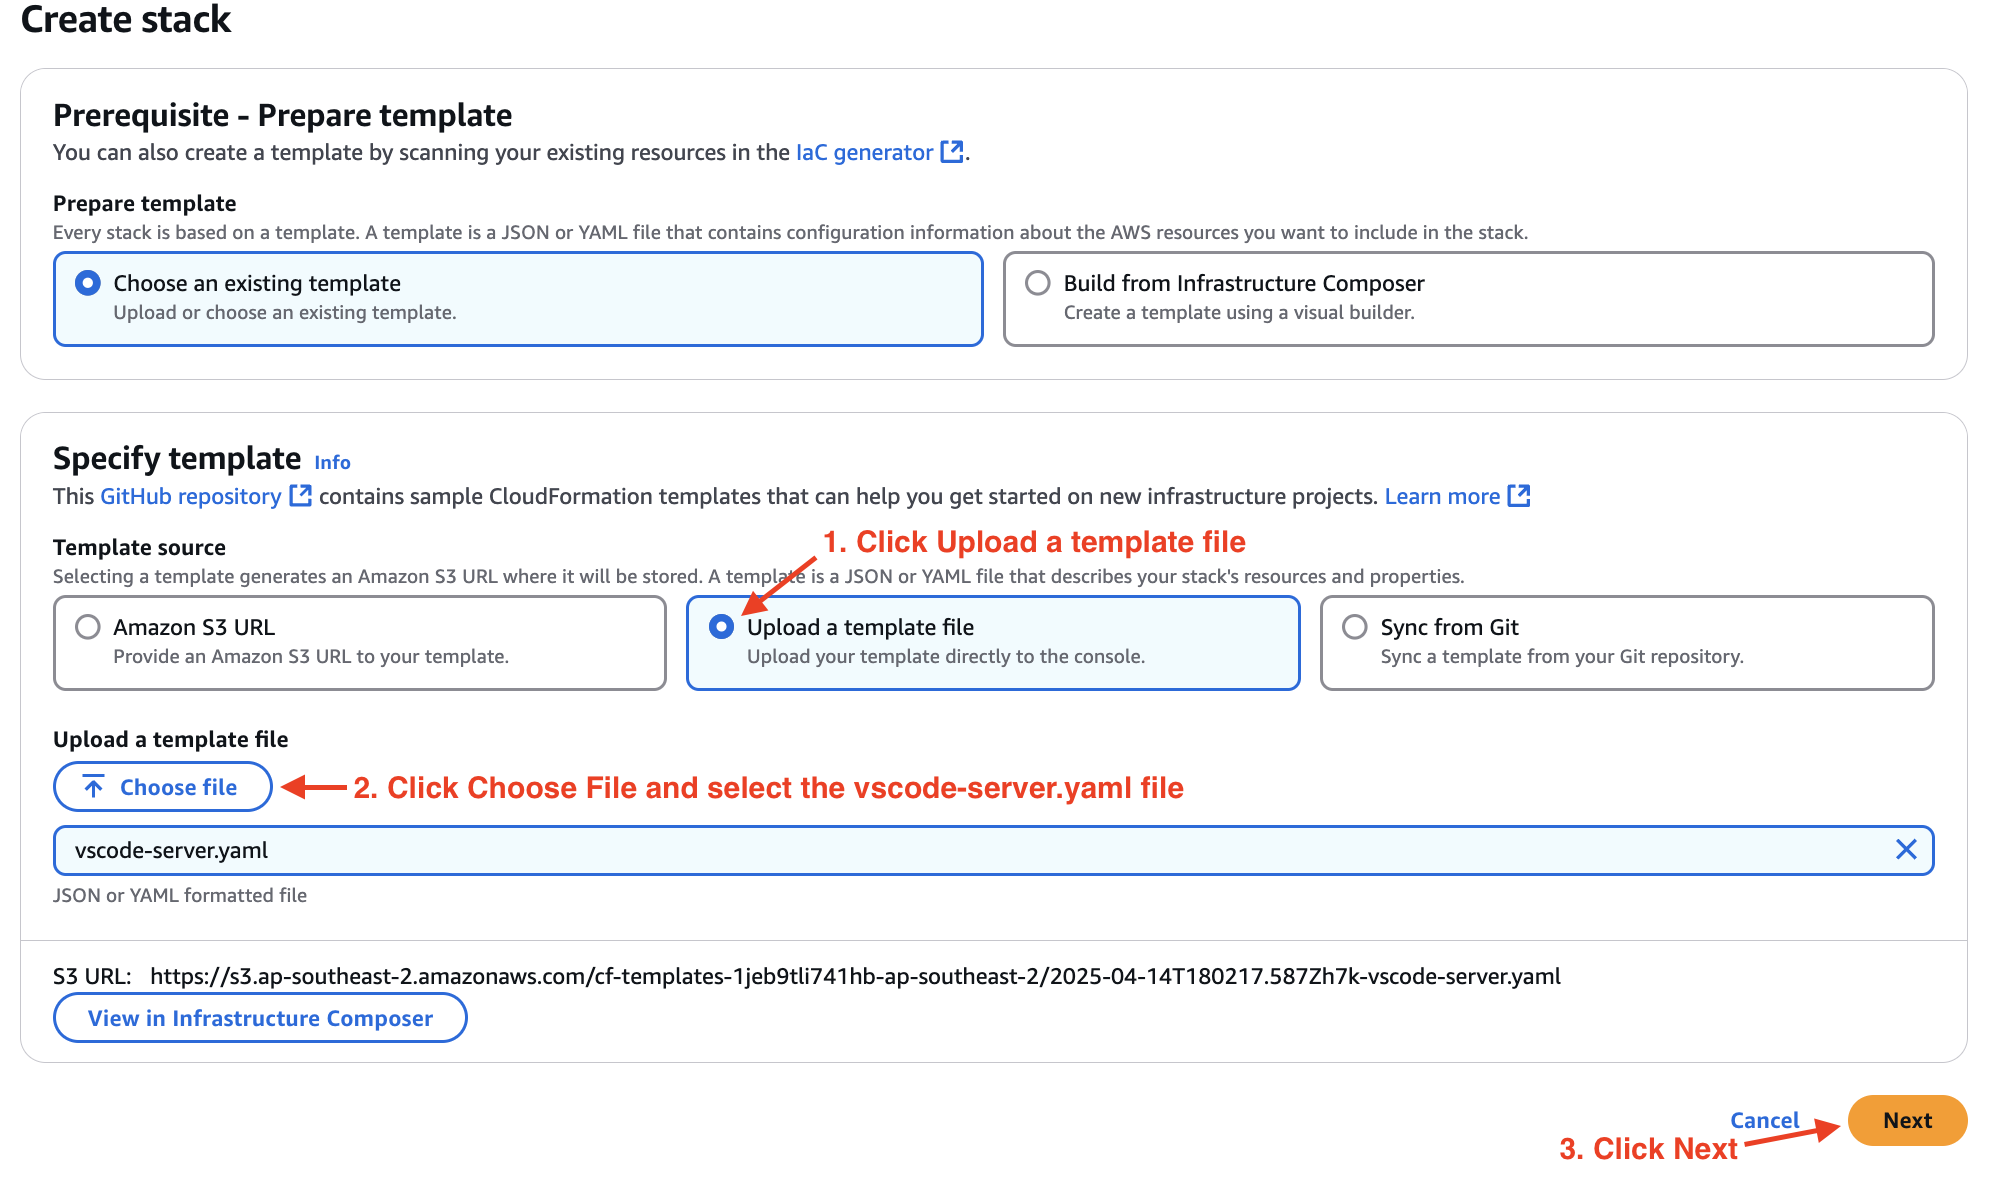
-
Enter a Stack Name(e.g.,
vscode-server-stack) and do not modify any Parameters.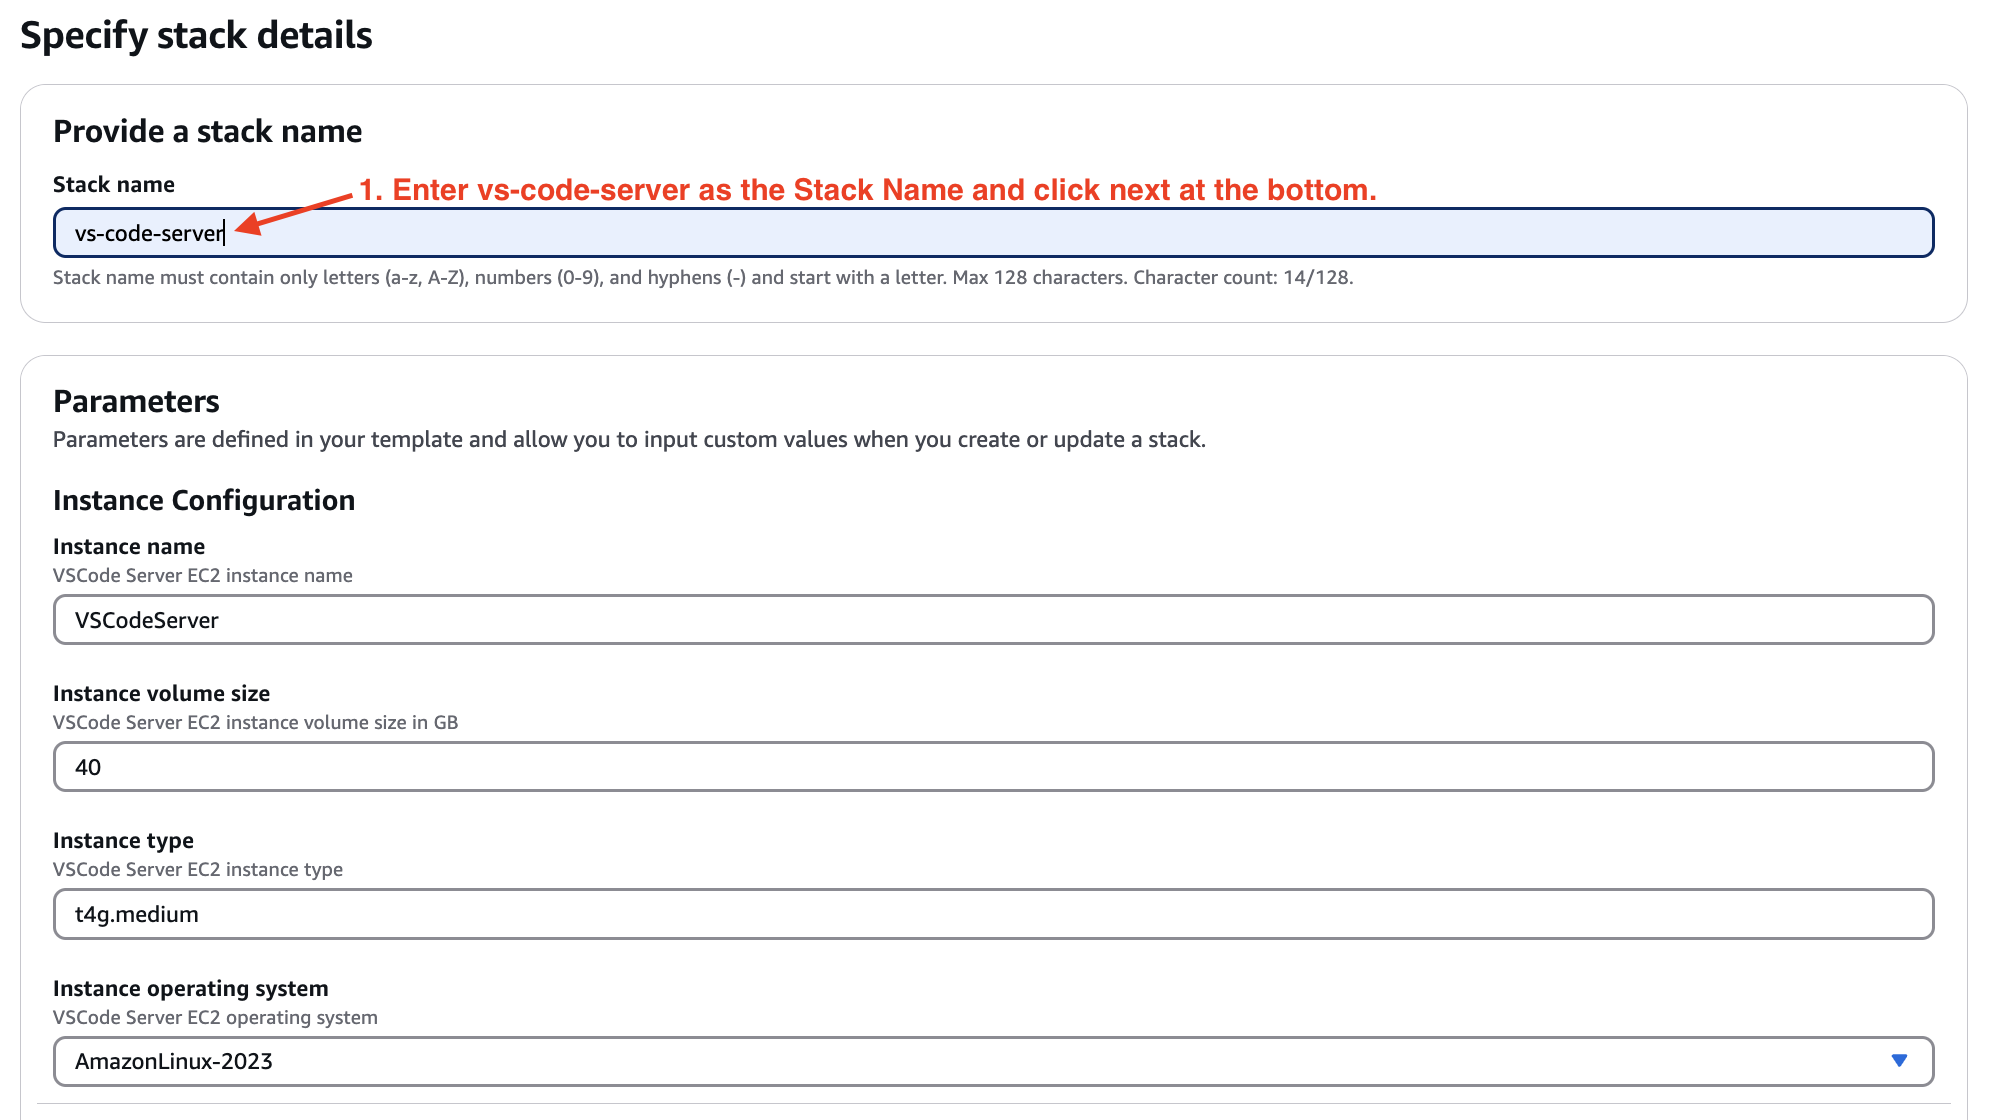
-
Click Next, then review the stack details.
-
Acknowledge the IAM role creation if prompted by checking the appropriate box.
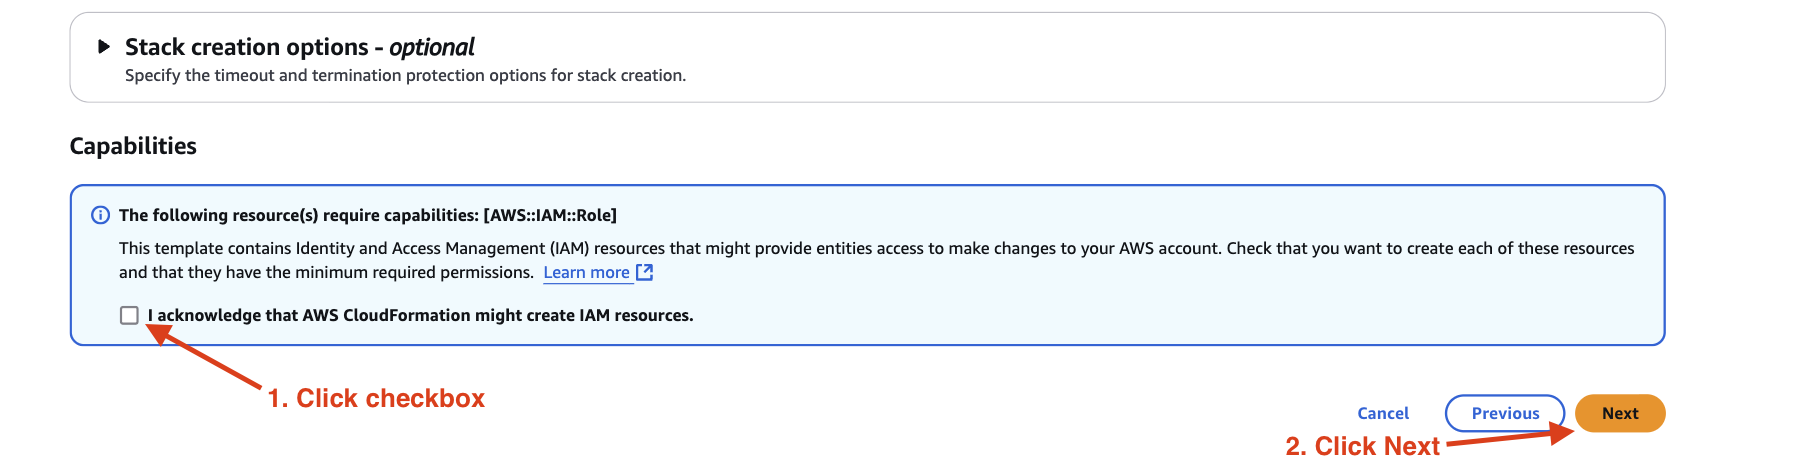
-
Click Submit to start the deployment.

Once the stack status changes to CREATE_COMPLETE, the resources for the Neon RDS are ready.
Verifying the Deployment
-
Go to the CloudFormation Outputs tab for each stack to verify the deployment details.
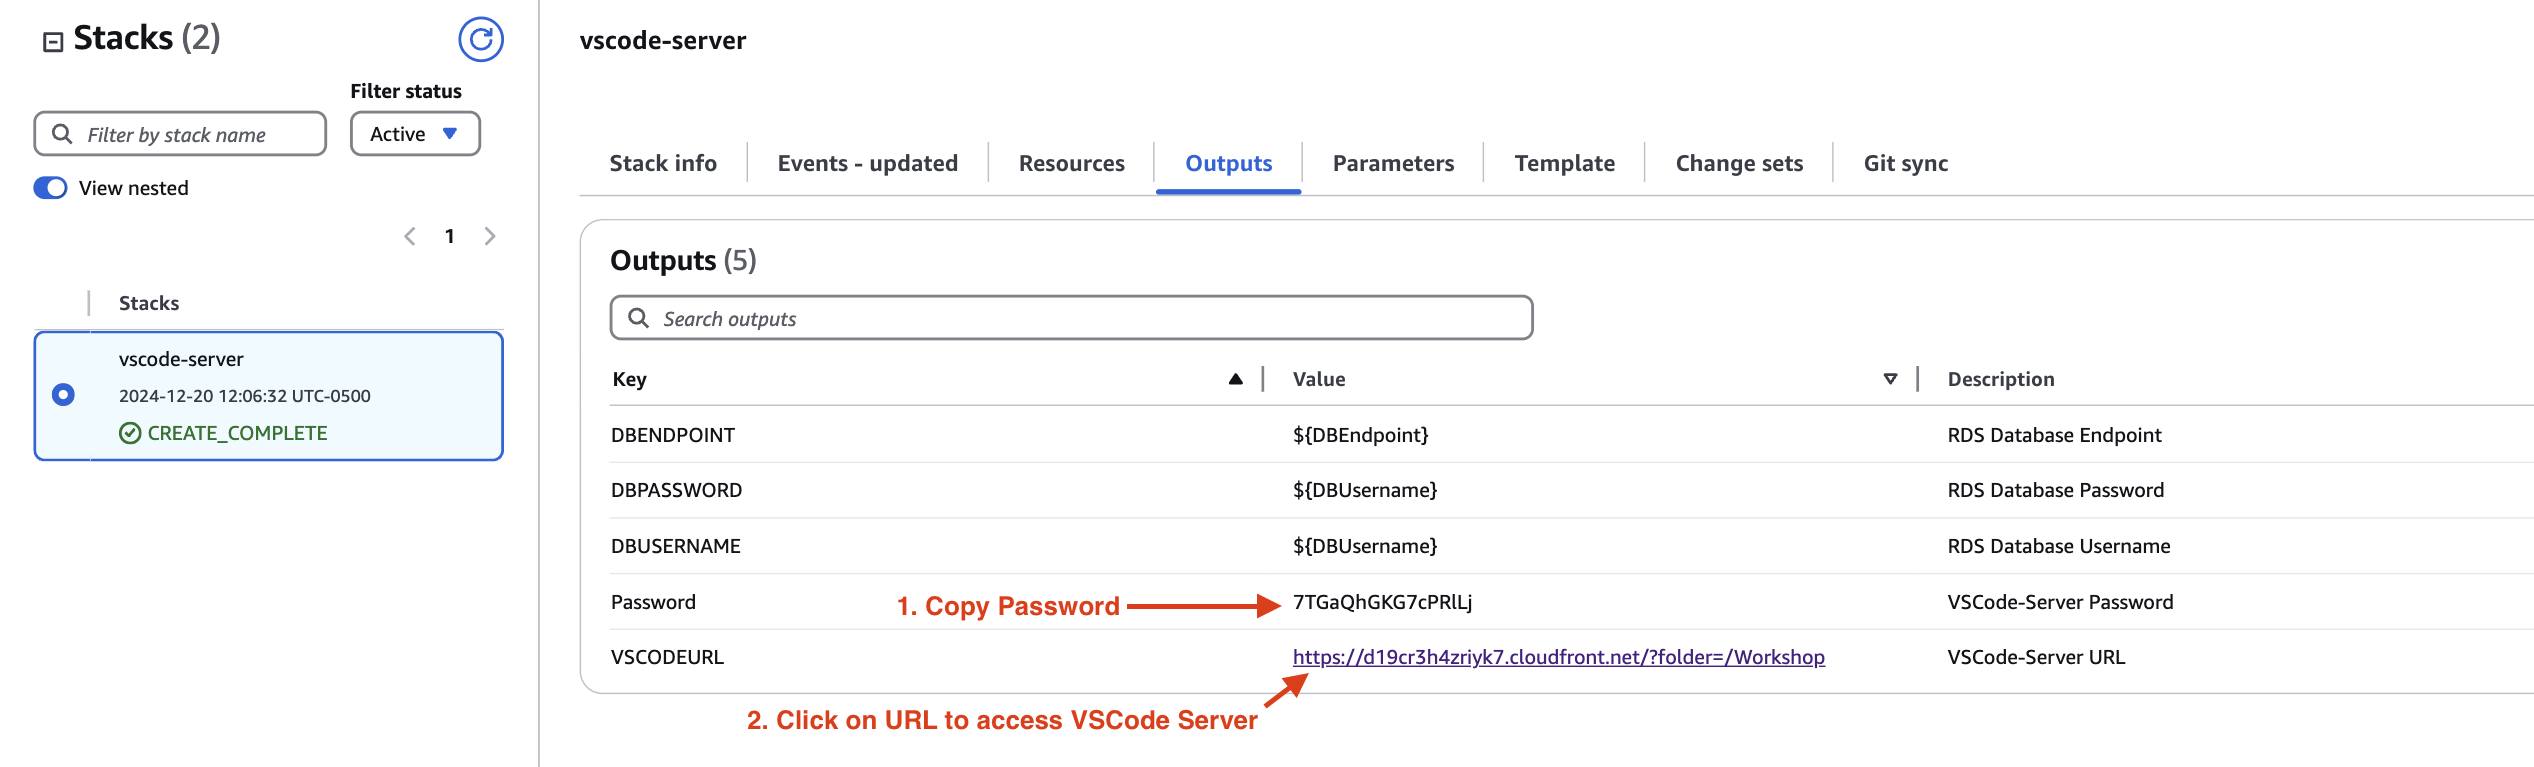
-
The
vscode-server.yamlstack will provide theVSCODEURLandPasswordfor accessing the VS Code server.
Note: If you encounter errors during the deployment, ensure that:
- You have sufficient permissions to deploy CloudFormation stacks.
- Your AWS account has the required service limits for the resources being deployed.
- All parameters are correctly configured as per the workshop requirements.
If you have any issues, refer to the troubleshooting section or contact the support team.